Fixing Leading Edge Crack..   February 7th, 2008

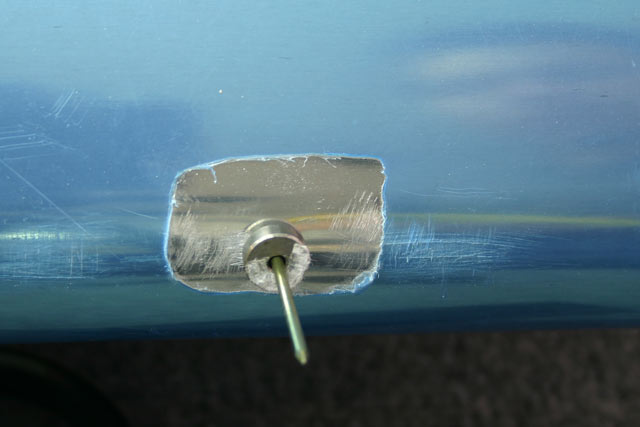
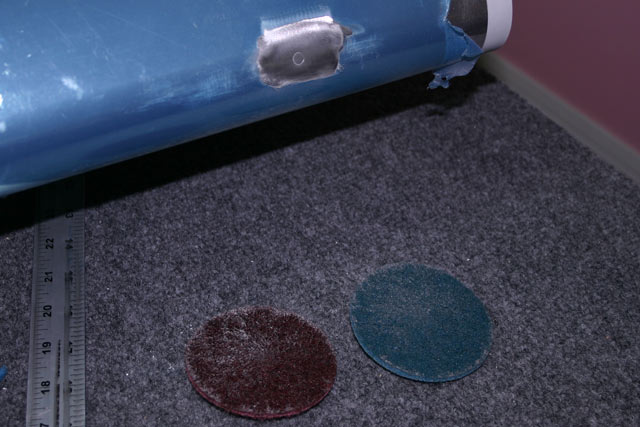
I asked around and got lots of advice on how I may want to fix this. I posted a picture of the dent and asked for help at Van’s Airforce, and within less than a day I had several suggestions of what to do. I ended up following the advice given by Mark Hegy (I guess the “A&P Gulfstream Aerospace.” in his signature swayed me just a little :-). He basically said to use ‘soft rivets’ and then use a blue and blue scotch-brite discs to polish the rivet/skin.

First I ordered some AN426A-4-3 rivets from Aircraft Spruce. Actually, I ordered about 397 more rivets than I needed (They won’t sell me less than 1/8 of a pound!). Even so, this was my first time putting in a $2 order, and was pleasantly surprised they sent it to me via USPS and charged me only something like $2.50 for shipping, which is very close to what the stamp on the box said.

With the rivets on hand, I took a piece of scrap aluminum, set it between two blocks of wood, and dropped my bucking bar on it (hey — I had to do a practice run first, right?!).

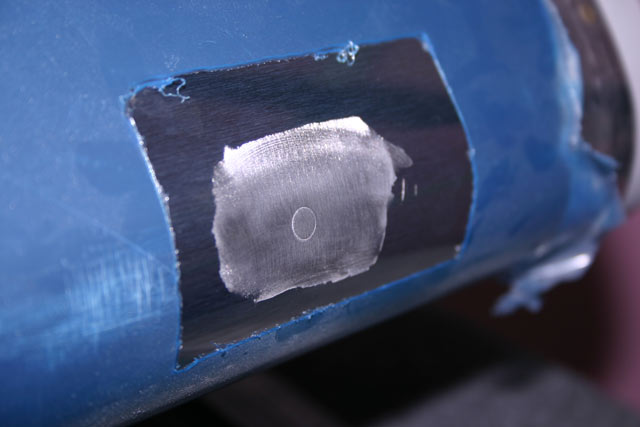
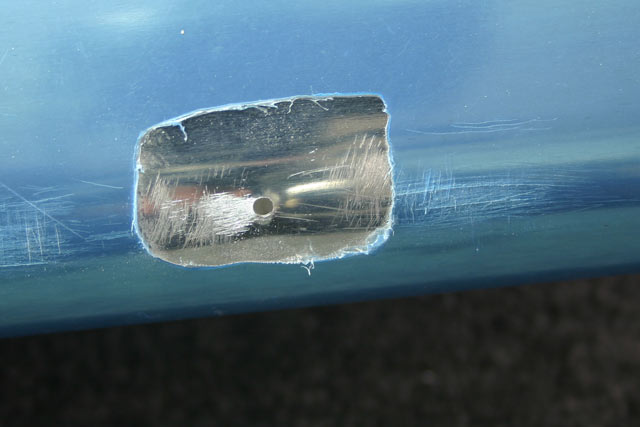
I went through all the steps on the scrap piece, and since I liked the results, decided to try it on the wing. So, this is what I started with — a right leading edge with a small but nasty ding/crack near the tip…

I got some 120 grit sandpaper and a small piece of 2×4, and made me a sanding block. I sanded off the tip of the ding, which made it a lot easier to drill it from the outside. Drilling from the inside would have been a bit challenging because of the angle at which the drill would have to be in order to be perpendicular to the skin).

This is the ding after getting sanded down. It is mostly flat, with just the crack and some very thin aluminum in the area.

Then I drilled a hole in the middle of the crack. I started with a #40 drill and then final drilled to #30. This completely removed the crack.

After deburring the hole, I used a ‘pop-rivet dimple die’ to dimple the hole. I decided to dimple and not countersink for a couple of reasons. First, the hole completely got rid of the crack and *most* of the dent, and I would rather not remove more material than necessary. This is one of the reasons why I definitely agreed with Mark Hegy’s original suggestion to practice on a piece of scrap first.

With the dimpled hole, I put the rivet in, put some masking tape on it to hold it in place, and set it with the rivet gun. I set the air pressure on the gun to 20psi and only had to give it a few hits before the rivet was fully set. Now I REALLY know why they call these ‘soft’ rivets!
***Very important*** Do NOT drop bucking bar while fixing dropped bucking bar dent!!!!!

Finally, I used first a red and then a blue scotch-brite disc to make things look pretty.

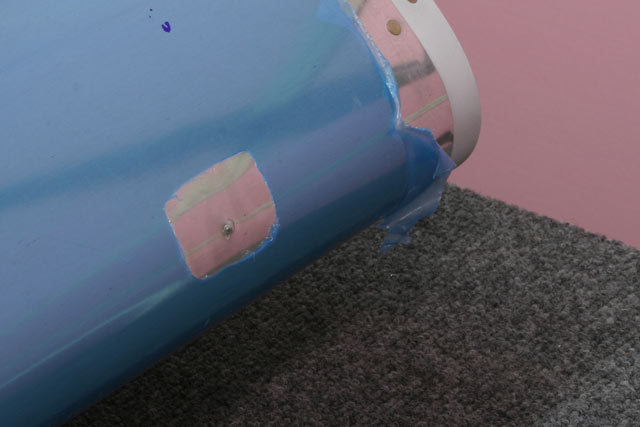
And here is the final result. From a distance, it will be very hard to tell there is a rivet in there.

This entry was posted on Thursday, February 7th, 2008 at 2:50 am and is filed under Leading Edge. You can follow any responses to this entry through the RSS 2.0 feed.Both comments and pings are currently closed.

No Responses