Deburring and Dimpling Right HS March 9th, 2006
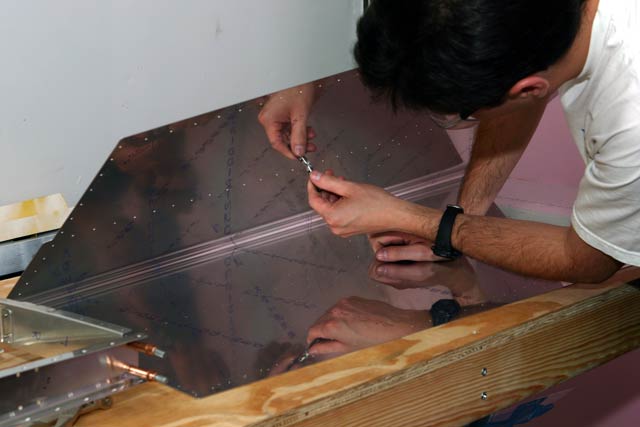
Now that all of the holes are drilled out, everything has to be taken apart and cleaned up. All of the holes need to be deburred. That’s a LOT of holes. Here’s a picture of me deburring the skin..
After everything (skin, ribs, etc) is deburred, the holes where the skin will attach to the rib need to be dimpled. I used the pneumatic squeezer for all of the holes that I could reach. I will have to do some of the holes in the skin with the C-frame later.

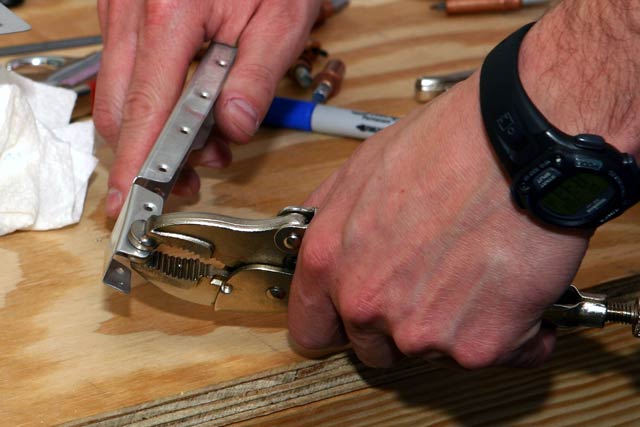
There are two holes in one of the ribs where the squeezer wouldn’t fit. I ended up using the hand dimpler from Avery Tools. Nice little tool…
I was initially concerned about the last hole in the main rib. When match drilling using the skin as a guide, it looked like this hole would end up being too close to the edge (the center of the hole needs to be at least 1.5 times the diameter away from the edge) I emailed the factory, and they said to drill it anyway. There is really no way to get it farther from the edge while still being centered on the front spar.
After taking everything apart I was pleasantly surprised that the hole center is EXACTLY 1.5 times the hole diameter away from the edge. So, we’re cutting it close, but not blatantly violating the edge distance.
